1. Face a window and simplify the background
Stand facing a window where daylight reaches your face evenly. Move back a little if the light is too bright. Avoid having the window directly behind you, which can leave your face dark. If you see a strong shadow across your nose or eyes, turn slightly toward the light and take another frame.
Pick a calm background: a plain wall or an uncluttered part of a room is a useful starting point. Leave some distance between you and the background so objects do not appear to grow out of your head. Wear clothing that fits the profile you are creating and check for distracting patterns or wrinkles.
2. Put the iPhone at eye level
Clean the camera lens and support your phone on a stable surface or tripod. Frame your head and shoulders, leaving a little room above your head. If a friend can help, ask them to hold the camera at your eye level. Avoid shooting extremely close to your face; moving the camera farther away and cropping later can give you a more natural perspective.
Use the camera timer to get into position and look toward the lens. Apple’s iPhone camera tools guide explains the timer, grid, and level. Use the grid to keep the camera straight. Take a few test photos and check focus before continuing.
3. Take several clear source photos
Take a straight-on portrait and a few with a slight turn of your head. Try a relaxed smile and a neutral expression. Keep the lighting and your appearance consistent so you can compare the photos easily. For a direct profile photo, choose the frame that looks most natural.
- Keep your face visible and sharp.
- Use an original photo rather than a screenshot of a photo.
- Avoid heavy beauty filters and effects that change your features.
- Check glasses for glare and keep your eyes visible.
- Use a portrait of just yourself so the intended face is clear.
4. Create an AI headshot in the app
If you want to explore a different outfit or business setting, open Headshot on your iPhone or iPad. Choose a template, follow the photo upload instructions, and generate a portrait from the source photos you selected. A simple studio or corporate look is a useful first option for a professional profile.
The app is free to download. Some generation and editing features require an in-app purchase or subscription, so read the offer shown in the app before purchasing. Available templates and screens can change between versions.
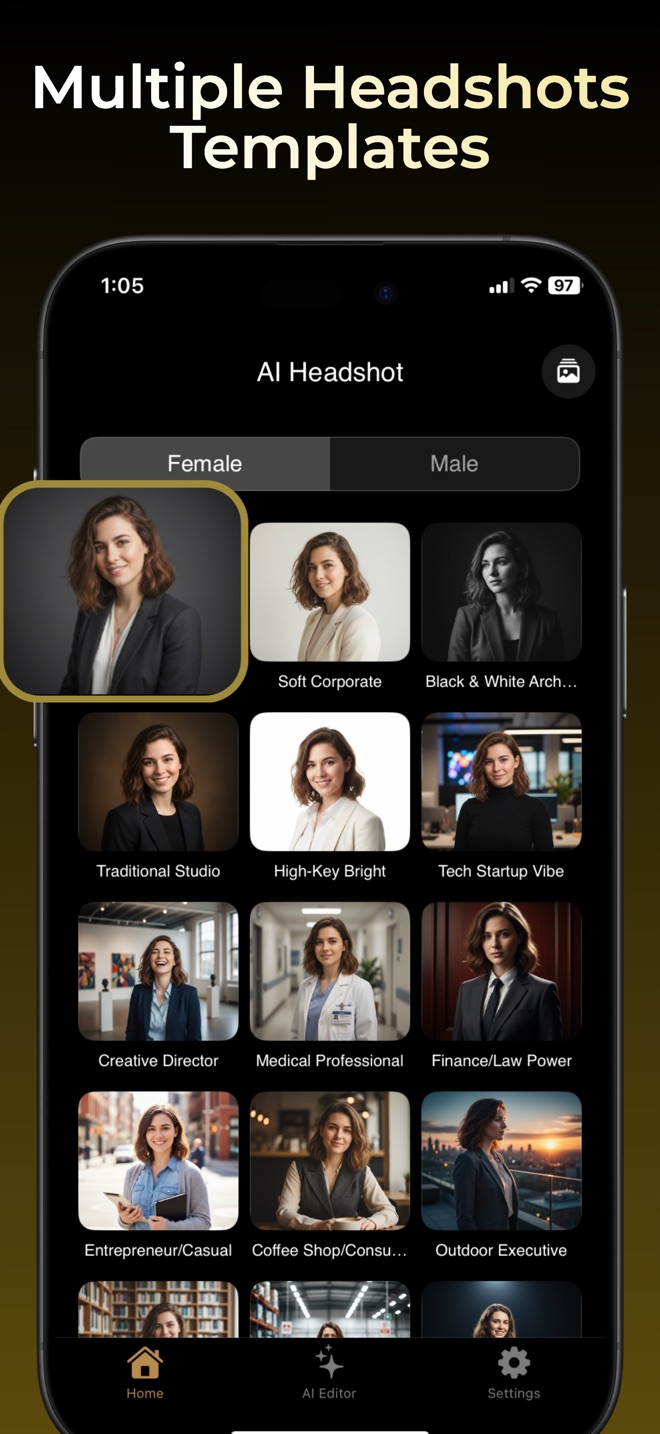
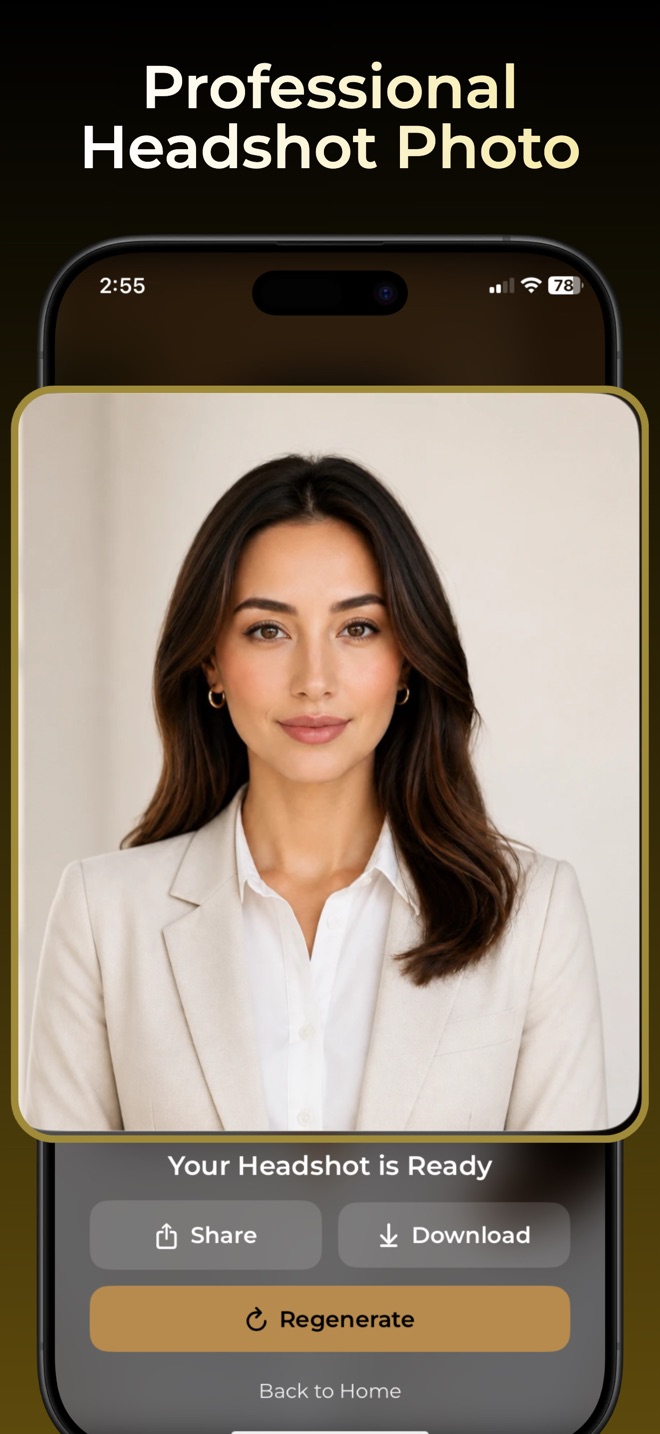
Screenshots from our published App Store listing. They show example results; your results will vary.
5. Review the portrait before using it
AI generation can change details. Compare the portrait against your source photo: do your eyes, face shape, hair, and glasses still look right? Check the background, collar, and edges of your hair for visual artifacts. Choose a result that represents you accurately rather than simply the most dramatic one.
Save the original file and crop a copy for each destination. Preview your LinkedIn headshot inside the profile circle. If you need a résumé or CV photo, first check whether the employer and local hiring conventions call for one.
Quick fixes for a better phone headshot
| Problem | Try this |
|---|---|
| Your face looks dark | Face the window and move away from a bright background. |
| The image is blurry | Stabilize the phone, use the timer, and check focus. |
| The framing looks awkward | Raise the camera to eye level and include your shoulders. |
| The AI result changes your face | Use clearer source photos and try a more understated template. |
Ready to explore a professional look?
Headshot is available for iPhone and iPad.